Publicity Emailing
We currently use a service called MailChimp for all of our external publicity emailing.
Contents
Access
Access is granted on a per user basis. If you don't have access and would like to, please email publicity@ccchislehurst.org.
Lists vs Groups vs Segments
- A List is a set of email addresses that completely separate from those in other lists. We have one list called Everyone so that we can add and remove subscribers from email groups without the need to duplicate the information.
- Groups provide a way to group email addresses within a list. A subscriber and belong to multiple groups, e.g. to Weekly Email and ABC Club.
- Segments are ways to dynamically create a set of email addresses. For example, all the email address that were added since a certain date.
Send Welcome Emails
After someone has subscribed to the Weekly Updates list via the website or some has been added manually to the subscriber list, we should send them a welcome email if appropriate. Please note that some the steps below could be automated if we decided to move to a paid MailChimp plan. Currently, we are on a free plan and the process of sending individual emails is as streamlined as it could be.
To the send the general email welcoming them to the church, follow these steps:
- Add new subscribers to "Everyone" email list
- Send emails
Note this only has to be one once for each batch of subscribers, not for every one individually.
Add New Subscribers to "Everyone" Email List
These steps are only necessary if when the subscriber wasn't added via the website.
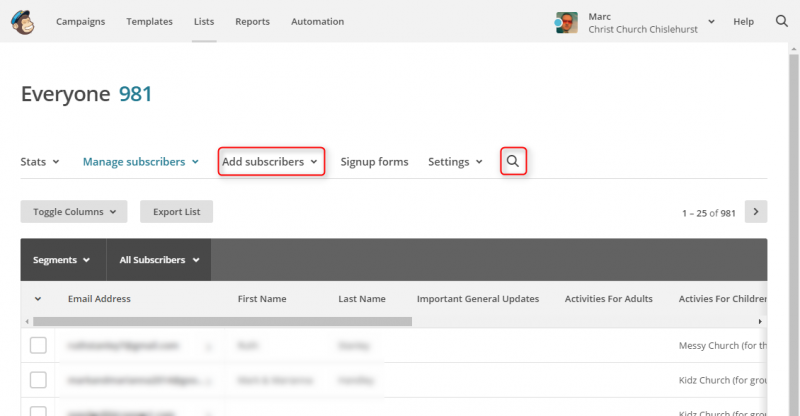
- Go to the Everyone list.
- Check whether the subscribers already exists by searching for them. If a subscriber already, exists open the details and make sure that Weekly Updates is selected. If not, add the subscriber.
- From the list menu bar, select Add subscriber > Add a subscriber
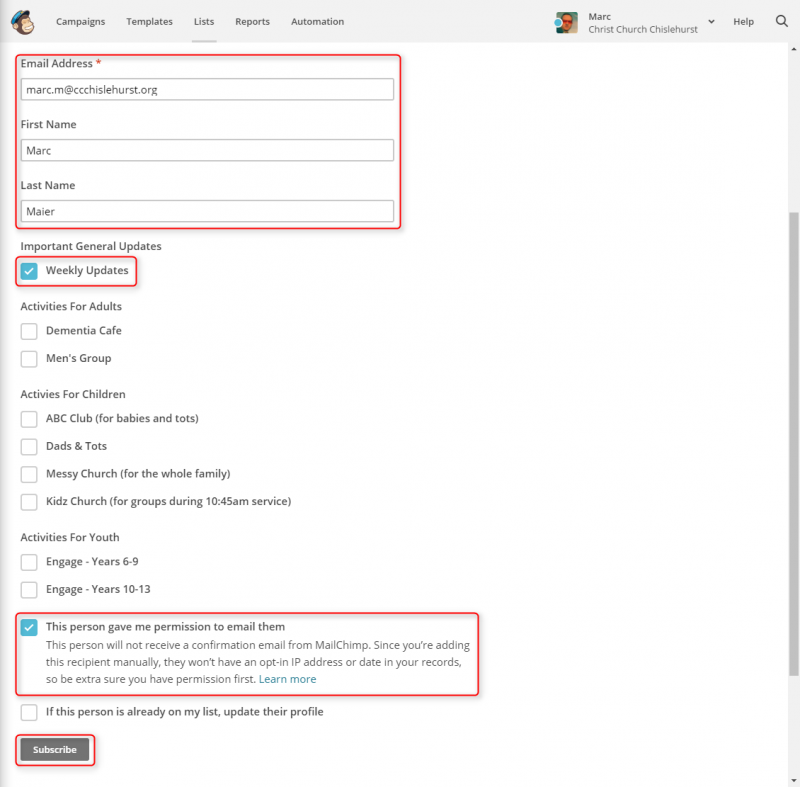
- Complete the form. Please make sure that you enter the First Name and Last Name with proper capitalisation because it can be included in email content.
- Select the groups that they have agreed to be subscribed to, typically Weekly Updates.
- Select This person gave me permission to email them and If this person is already on my list, update their profile.
- Click on Subscribe


Send Emails
Create Campaign
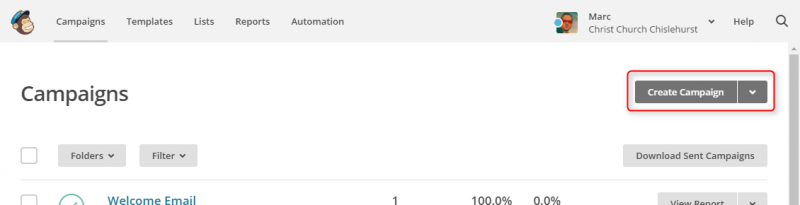
- Go the campaigns page.
- Select Create Campaign.
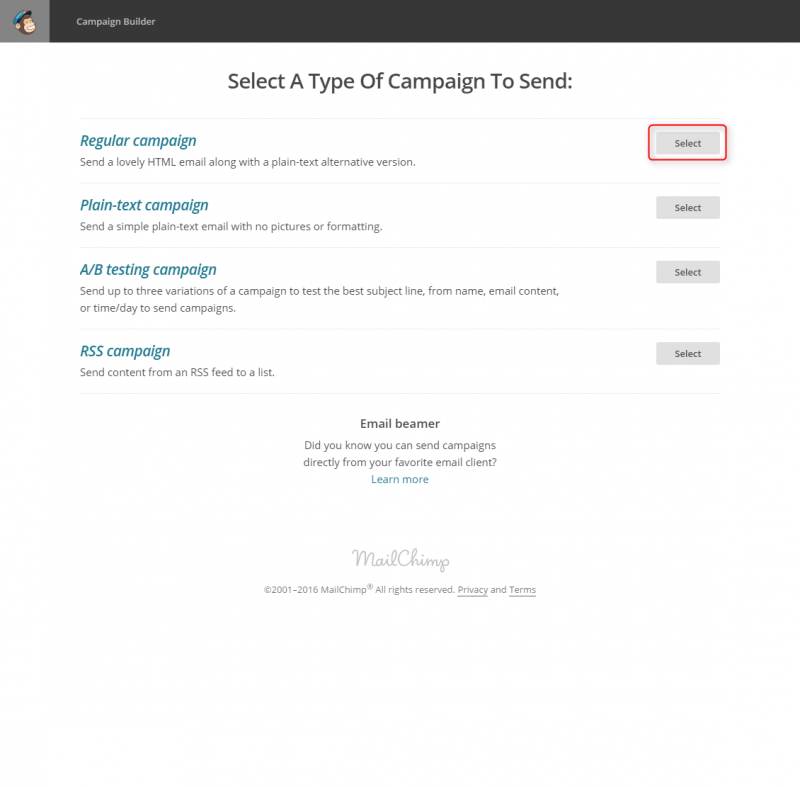
- Select Regular Campaign.


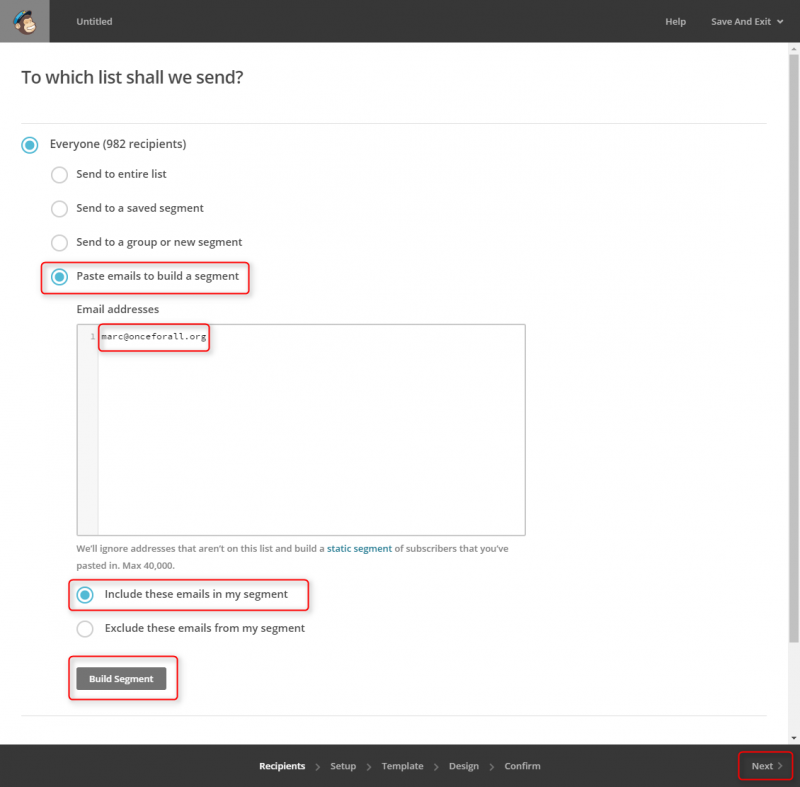
Select Recipients
- Select Paste emails to build a segment.
- Copy email address into the Email addresses field. (Leave Include these emails in my segment.
- Select Build Segment, then click Next at the bottom of the page.

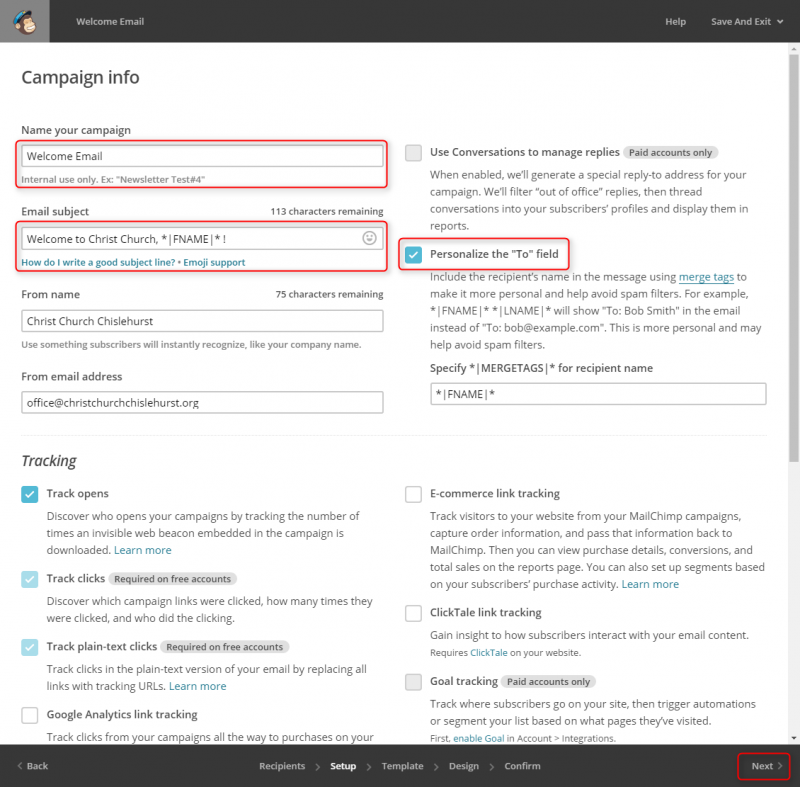
Enter Campaign Info
- Enter Welcome Email in the name field.
- Enter Welcome to Christ Church! or Welcome to Christ Church, *|FNAME|* ! (if we have the first names) in the Email subject.
- Click Next at the bottom of the page.

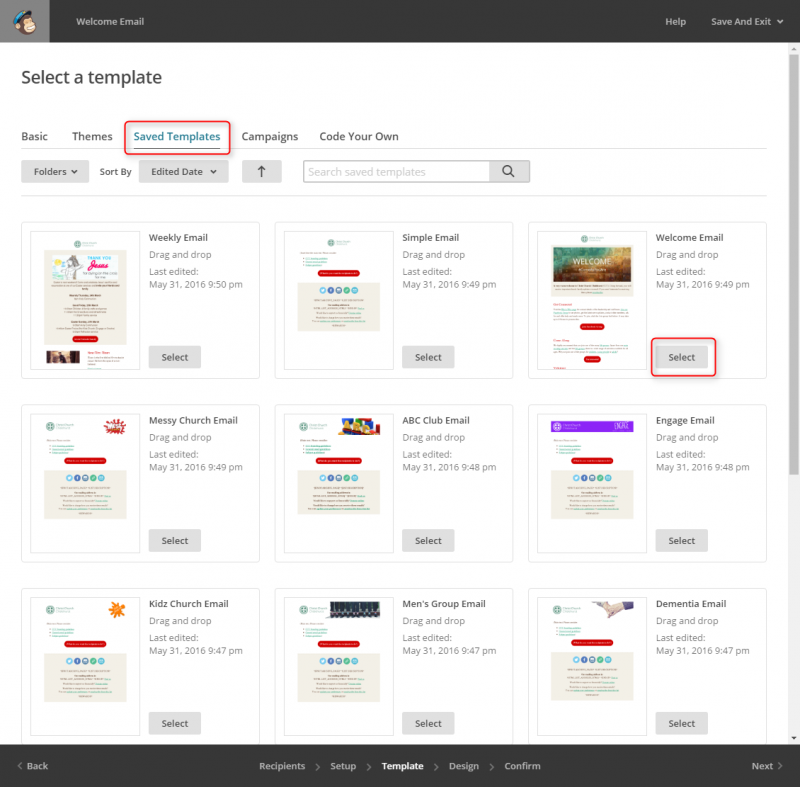
Select Welcome Email Template
- Select Saved Templates.
- Select Welcome Email.

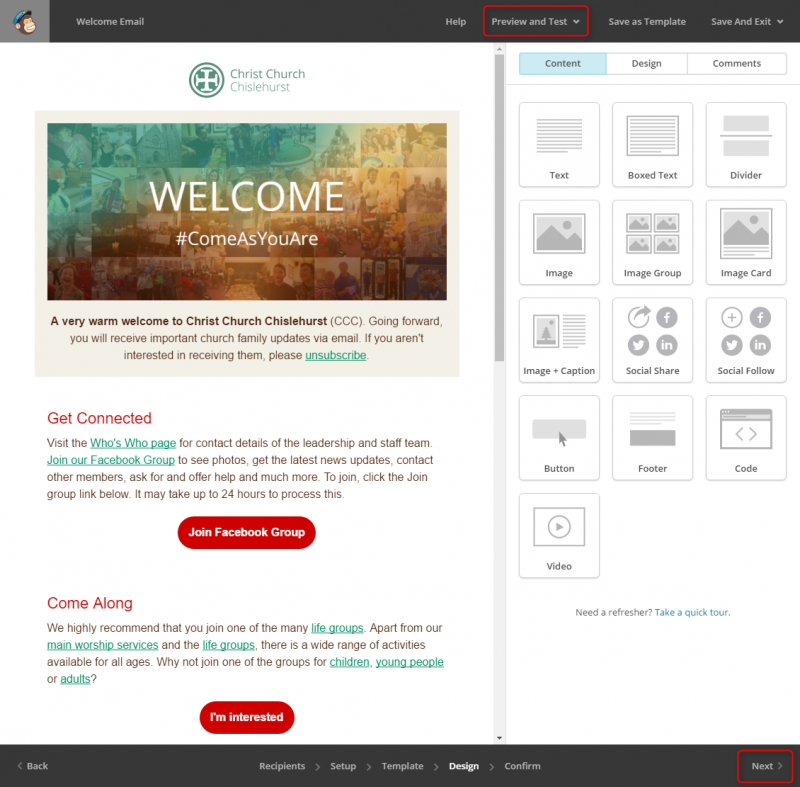
Check Content
- Check the email content. If unsure, send a test email by using the Preview and test option in the menu.
- Once happy, click Next at the bottom of the page.

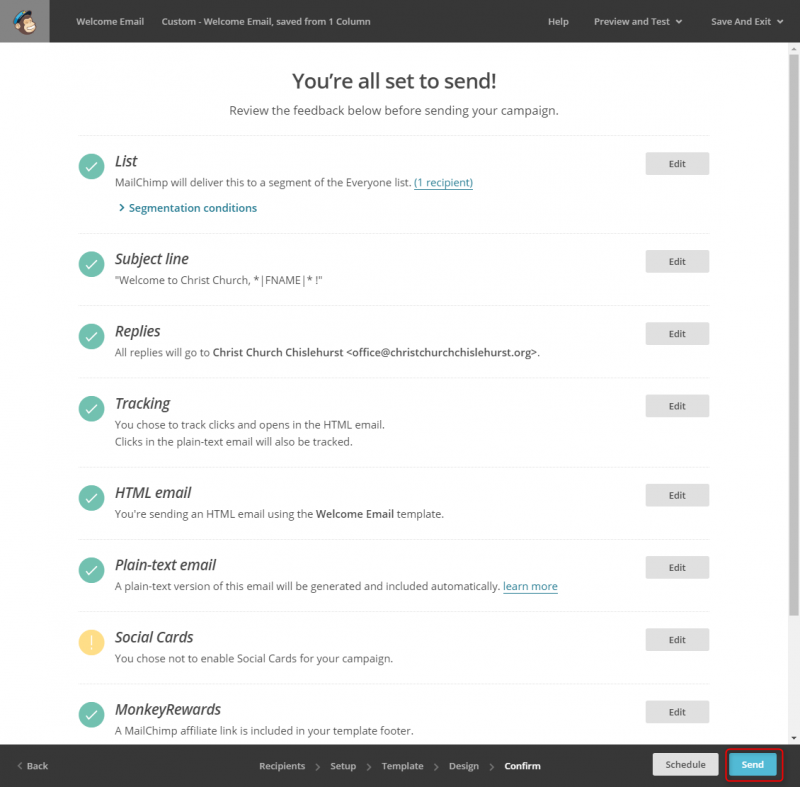
Check Options
- Check the options. Ignore the Social Cards warning.
- Click on Send.

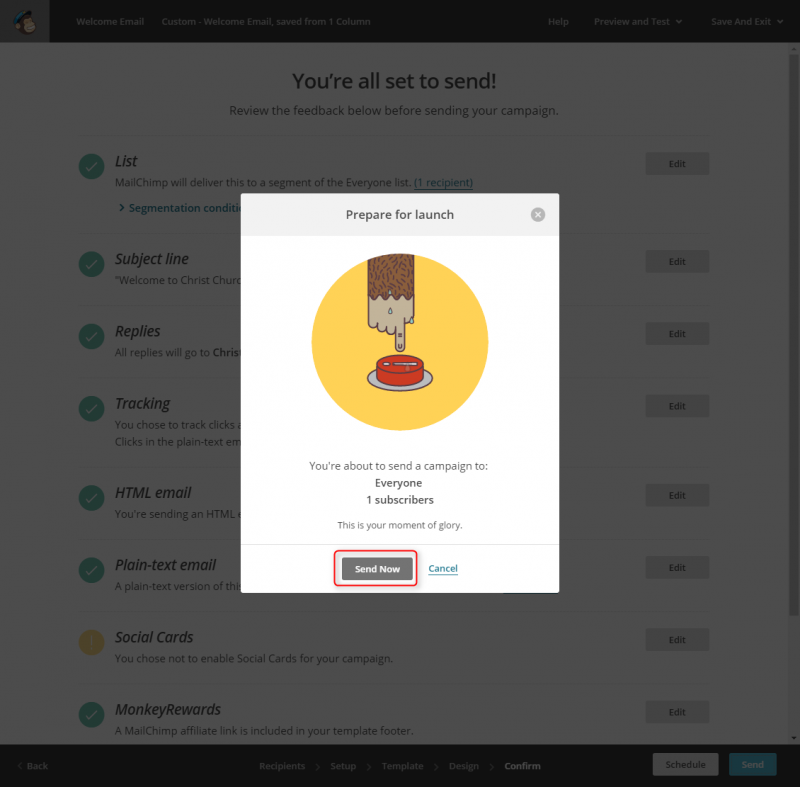
Send email
- Click Send Now.

The subscribers will receive the following email. Please note the personalised subject and To address.